

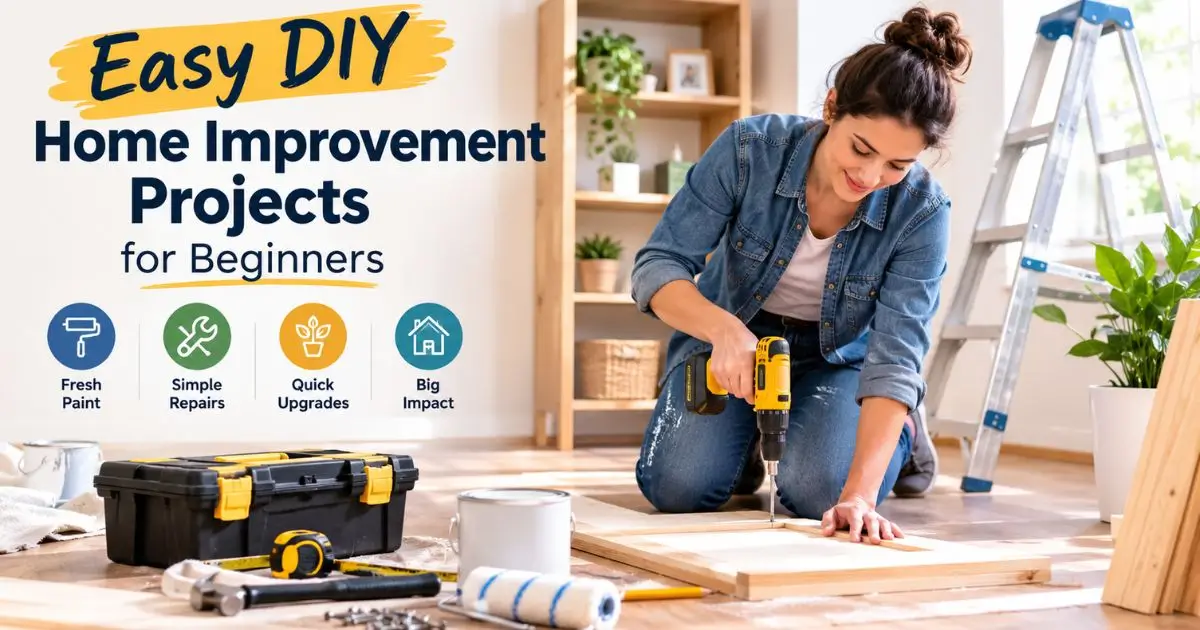
Easy DIY Home Improvement Projects for Beginners
Your home could use a refresh, but the idea of starting a renovation feels overwhelming. You don’t know where to begin, you don’t own a full workshop, and hiring a contractor for small updates just doesn’t make sense for your budget.
You’re not alone. Most homeowners feel the same way before their first project. The good news is that plenty of simple home upgrades take a single weekend, cost under $100, and require nothing more than a screwdriver and a little patience.
In this guide, you’ll learn seven easy DIY home improvement projects for beginners that deliver real results. Each one includes a time estimate, a rough cost, the tools you’ll need, and clear steps to follow. By the end, you’ll know exactly which project to tackle first.
Easy DIY home improvement projects for beginners are small, low-risk home upgrades that a person with no prior construction experience can complete using basic tools and affordable materials. These projects typically take a few hours to one weekend and focus on cosmetic or functional improvements rather than structural changes.
Quick Summary
Start with painting an accent wall or swapping cabinet hardware — both take under three hours and cost less than $50. As your confidence grows, move to installing a peel-and-stick backsplash, adding floating shelves, or upgrading light fixtures. Every project in this list is realistic for a first-time DIYer working on a weekend.
Why Start With Simple Home Upgrades?
Big renovations get all the attention on TV and social media. But most homeowners don’t need to gut a kitchen or rebuild a bathroom to feel better about their space.
Small changes add up fast. A fresh coat of paint, new door handles, and proper caulking around a bathtub can make a room feel brand new. These beginner home projects also teach you basic skills — measuring, cutting, drilling, and finishing — that prepare you for bigger jobs later.
Starting small also protects your wallet. If a $30 project doesn’t turn out perfectly, you’re not out thousands of dollars. You learn, adjust, and try again. That low-pressure environment is exactly what first-time DIYers need.
7 Easy DIY Home Improvement Projects for Beginners
Here are seven starter DIY projects ranked roughly from easiest to slightly more involved. Pick the one that solves a problem you already notice in your home.
1. Paint an Accent Wall
Time: 2–4 hours
Cost: $25–$60
Tools: Paint roller, painter’s tape, drop cloth, angled brush
This is the single easiest way to transform a room. Choose one wall — usually the one behind your bed or sofa — and paint it a bold color that contrasts with the rest of the space.
Start by taping off the edges where the wall meets the ceiling and adjacent walls. Lay a drop cloth on the floor. Cut in the corners with an angled brush, then roll the rest in smooth, overlapping strokes. Two coats usually do the job. Let the first coat dry for at least two hours before adding the second.
Real example: A friend of mine painted the wall behind her dining table a deep navy blue. Total cost was $35 for a gallon of paint and a roller kit. The room looked like a completely different space by Sunday afternoon.
2. Install a Peel-and-Stick Backsplash
Time: 3–5 hours
Cost: $40–$120
Tools: Utility knife, measuring tape, level, squeegee or credit card
Peel-and-stick tiles have come a long way. Modern versions look like real subway tile or marble, and they stick directly to clean, smooth walls. No grout, no mortar, no mess.
Measure the area above your kitchen counter. Clean the wall thoroughly with a degreaser — this step matters more than people think. Start from the bottom corner and work your way up, pressing each tile firmly. Use a level every few rows to keep things straight. Trim edges with a sharp utility knife.
This is one of those weekend home projects that gives you the biggest visual payoff for the least amount of effort.
3. Replace Cabinet Hardware
Time: 1–2 hours
Cost: $20–$80
Tools: Screwdriver, measuring tape
If your kitchen or bathroom cabinets look dated, the handles and knobs might be the problem. Swapping them out is one of the fastest budget home improvements you can make.
Remove the old hardware with a screwdriver. If the new knobs or pulls use the same screw holes, you’re done in minutes per cabinet. If the holes don’t match, you’ll need to fill the old holes with wood filler and drill new ones — still simple, just a bit more time.
Stick to one finish across all cabinets. Brushed nickel and matte black are safe, modern choices that work in almost any kitchen.
4. Add Floating Shelves
Time: 2–3 hours
Cost: $30–$80
Tools: Drill, level, stud finder, pencil, screws and wall anchors
Floating shelves add storage and style to bare walls. They work well in kitchens for spices and mugs, in bathrooms for towels, or in living rooms for books and plants.
Find the studs in your wall using a stud finder. Mark your shelf height with a pencil and confirm it’s level. Drill pilot holes, insert anchors if you’re not hitting a stud, and mount the bracket. Slide the shelf onto the bracket and tighten the set screws underneath.
Honest note: If your walls are plaster or concrete, drilling gets harder. In that case, consider adhesive-mounted shelves for lightweight items instead.
5. Caulk Around the Bathtub and Sinks
Time: 1–2 hours
Cost: $8–$15
Tools: Caulk gun, tube of silicone caulk, utility knife, paper towels, rubbing alcohol
Old, cracked caulk around your tub or sink looks bad and lets water seep behind the walls. Replacing it is one of the most practical DIY home repairs a beginner can handle.
Cut away the old caulk with a utility knife. Clean the gap with rubbing alcohol and let it dry completely. Load a tube of 100% silicone caulk into your caulk gun. Run a smooth, even bead along the gap. Wet your finger and press it along the caulk line to smooth it out. Let it cure for 24 hours before using the tub or sink.
This project costs almost nothing but prevents expensive water damage down the road.
6. Upgrade a Light Fixture
Time: 1–2 hours
Cost: $30–$100
Tools: Screwdriver, voltage tester, wire nuts, ladder
Swapping an outdated ceiling light or vanity fixture is easier than most people expect. The key rule: always turn off the power at the breaker box first, not just the wall switch.
Use a voltage tester to confirm the wires are dead. Remove the old fixture by unscrewing the mounting bracket. Disconnect the wires — typically black to black, white to white, and ground to ground. Connect the new fixture’s wires the same way using wire nuts. Mount the new bracket, attach the fixture, and restore power.
If the wiring in your home looks old, frayed, or confusing, stop and call an electrician. There’s no shame in knowing your limits.
7. Weatherstrip Doors and Windows
Time: 2–3 hours
Cost: $15–$40
Tools: Scissors, measuring tape, cleaning cloth
Drafty doors and windows waste energy and raise your heating bill. Adding weatherstripping is a simple home upgrade that pays for itself within a few months.
Clean the door frame or window frame with a damp cloth. Measure the gaps. Cut self-adhesive foam or rubber weatherstripping to length. Peel off the backing and press it firmly into place along the frame. Close the door or window to check the seal.
This is especially worth doing before winter if you live in a colder part of the US, like the Midwest or Northeast.
Starter Tool Kit: What You Actually Need
You don’t need a garage full of power tools to handle these beginner home projects. Here’s a realistic starter kit:
| Tool | Estimated Cost | Used For |
|---|---|---|
| Claw hammer | $10–$15 | Hanging shelves, general repairs |
| Phillips & flathead screwdriver set | $8–$15 | Cabinet hardware, light fixtures |
| Cordless drill/driver | $35–$60 | Floating shelves, mounting brackets |
| Measuring tape (25 ft) | $8–$12 | Every project on this list |
| Utility knife | $5–$8 | Backsplash tiles, caulk removal |
| Level (9-inch) | $8–$12 | Shelves, backsplash, fixtures |
| Stud finder | $10–$20 | Hanging anything on drywall |
Total cost for a basic kit: roughly $85–$140. Buy quality where it counts (the drill and level) and save on the rest.
Frequently Asked Questions
What is the easiest DIY project for beginners?
Painting an accent wall is easy, affordable, and can be completed in one afternoon.
How much should a beginner spend on a DIY project?
Start with a budget under $100. Most beginner projects cost $15–$80 in materials.
Do I need power tools for DIY home improvements?
No. Basic tools like a screwdriver, hammer, and utility knife are enough for many simple projects.
How do I know if a DIY project is too advanced?
Avoid complex electrical, plumbing, and structural work. Start with simple upgrades and hire a professional when needed.
Conclusion
You don’t need a huge budget, a full workshop, or years of experience to improve your home. The easy DIY home improvement projects for beginners covered in this guide are realistic, affordable, and designed for people who have never picked up a power drill.
Start with one project this weekend. Paint that wall. Swap those cabinet knobs. Re-caulk the tub. Small wins build momentum, and before long, you’ll be tackling bigger upgrades with real confidence.
Your home deserves to feel like yours. And the best part? You just did it yourself.